The Thermodynamic Necessity of a Flawless Radiator Flush
Neglecting your vehicle's cooling system is a slow death sentence for the engine. Over time, ethylene glycol degrades, protective anti-corrosion additives deplete, and suspended particulates form an abrasive slurry. Performing a radiator flush is not merely routine maintenance; it is a critical intervention to prevent localized hot spots, water pump seal failures, and catastrophic head gasket warpage. However, the primary deterrent for most DIY mechanics is the inevitable, toxic deluge of coolant that somehow misses the drain pan entirely. Approaching this task with professional-level precision means controlling fluid dynamics as much as chemical balance.
When cooling efficiency drops, many drivers rush to purchase new parts, yet the 4-test that proves your radiator cap is killing your engine demonstrates how simple, overlooked components dictate system pressure. If your pressure cap cannot maintain the vacuum needed during thermal contraction, even a fresh flush will not prevent boiling. Before cracking open any drain petcock, one must understand that managing coolant under gravity requires deliberate preparation, proper tool selection, and an analytical approach to system volume.
How to Control Fluid Velocity and Prevent the Infamous Splash Zone
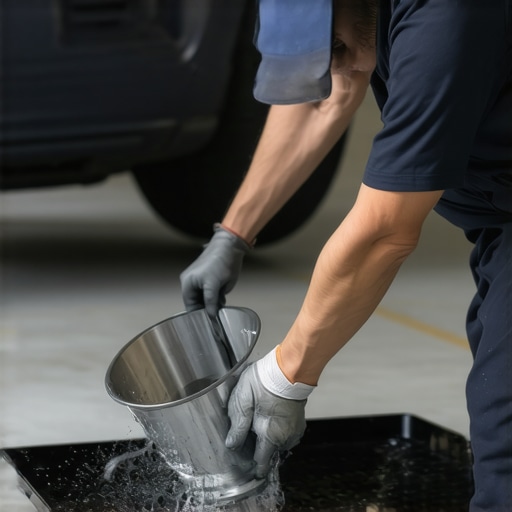
The biggest mess during a home coolant flush occurs when the fluid rushes out of the radiator petcock too quickly, catching the wind or splashing violently against the frame rails. To execute a surgical, drip-free flush, you must manage the atmospheric pressure inside the cooling system. Keep the radiator cap tightly sealed when you first open the bottom drain plug or petcock. This restriction creates a partial vacuum, slowing the exit velocity of the coolant to a manageable, highly directed stream. Once you have positioned your capture container directly beneath the stream, slowly crack the radiator cap open to introduce atmospheric pressure and increase the flow rate in a controlled manner.
Furthermore, standard drain pans are often too shallow, leading to secondary splashing. Professional technicians utilize wide-diameter containment tubs or flexible draining funnels that can be molded to bypass chassis obstructions. If you suspect that your cooling issues extend beyond simple fluid degradation, take a moment to analyze your oil cap and exhaust. If you observe milky deposits, you may need to learn how to detect a blown head gasket with soapy water before introducing fresh, expensive coolant into a compromised combustion environment.
Why Does Fresh Coolant Sometimes Turn Dark Gray Immediately After a Flush?
This frustrating phenomenon occurs when DIYers perform a simple drain-and-fill rather than a comprehensive chemical flush. A significant portion of the old, degraded coolant and metallic silt remains trapped inside the heater core and engine block passages. When new, highly detergent coolant is added, it aggressively breaks loose these stubborn, oxidized deposits from the internal walls of the engine block, suspending them in the clean fluid. For those looking to dive deeper into how fluids chemically degrade and change color under stress, check out this diagnostic breakdown on why your new brake fluid turned dark-gray this month, which highlights similar oxidation principles within automotive hydraulic systems.
To prevent this rapid contamination, you must perform a multi-stage flush using distilled water and a premium chemical chelating agent. According to the Society of Automotive Engineers (SAE), mineral content in standard tap water rapidly reacts with coolant additives to form scale deposits, making distilled water an absolute requirement for safeguarding internal heat-exchange surfaces. Run the vehicle with distilled water and flush solvent until the discharged fluid is completely clear, ensuring all residual acidity is neutralized before the final fill of OEM-specified antifreeze.
If you want to keep your vehicle operating at peak thermal and mechanical efficiency, read our step-by-step guide on the ultimate tune-up checklist for every car owner to master the art of preventative driveway maintenance.
Air Pockets: The Invisible Killers of Modern Aluminum Cylinder Heads
Once you have successfully flushed the old fluid, the most critical phase of the process begins: burping the system. Modern automotive cooling networks are highly complex, often featuring heater cores that sit higher than the radiator cap or engine block water jackets with intricate, high-rise pathways. When you pour fresh coolant into a dry radiator, air naturally becomes trapped within these high points, creating localized air pockets. Unlike liquid, air pocket bubbles do not transfer heat. When an air pocket settles around a cylinder combustion dome, that specific zone spikes in temperature, leading to localized micro-boiling, thermal expansion stress, and cracked aluminum heads before your dashboard temperature gauge even registers a problem.
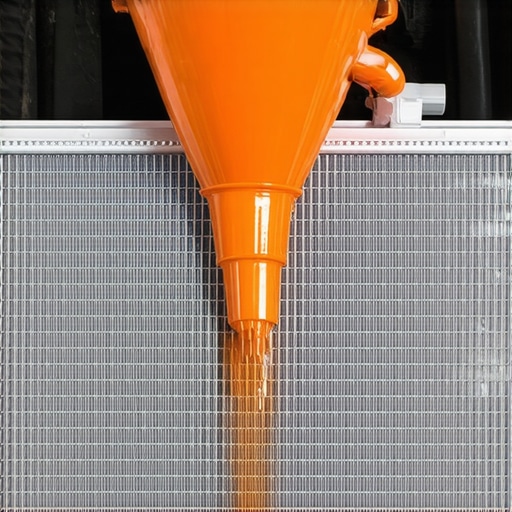
To eliminate this risk, utilizing a spill-proof funnel kit that seals directly to the radiator neck is paramount. This tool allows the coolant level to sit higher than the highest point in the cooling system, forcing trapped air to migrate upward into the funnel. If you notice persistent thermal fluctuation issues or mysterious coolant loss after a refill, you should also investigate whether a minor gasket failure is allowing combustion gases into your cooling passages. Learning the simple way to check for a blown head gasket at home can save you from replacing an engine that you thought was merely running low on fluid.
Why Does Your Car Cabin Blow Cold Air When the Engine Is Overheating?
This classic diagnostic paradox confounds many amateur mechanics. When your cooling system is critically low on fluid or suffering from a severe air pocket, the heater core—which relies on a constant flow of hot engine coolant to warm the cabin air—is starved of liquid. Air pockets tend to pool in the heater core lines due to their height. Because there is no hot fluid circulating through the core, your cabin blower motor pushes ambient, cold air into the cabin. Meanwhile, the engine block is dry and trapped heat is rapidly building up. If you experience icy cabin air while your temperature gauge climbs toward the red zone, pull over immediately; your system is starved of circulation and terminal engine damage is imminent.
The Critical Role of Coolant Chemistry in Modern Galvanic Systems
Modern engines utilize a mix of diverse metals, including aluminum cylinder heads, cast-iron blocks, brass thermostat housings, and steel water pump impellers. When these dissimilar metals are bathed in a conductive fluid, they form a chemical battery. This process, known as galvanic corrosion, will aggressively eat away at the softer metals—usually the aluminum head—if the coolant's chemical additives are depleted. According to the automotive materials researchers at Corrosionpedia, the electrical conductivity of coolant increases exponentially as its pH drops and glycol degrades, which accelerates localized pitting on water jacket walls and destroys water pump bearings from the inside out.
Testing your coolant's electrical properties is an advanced, yet simple, diagnostic test you can perform at home. By placing the positive probe of a digital multimeter directly into the liquid coolant in your radiator (without touching any metal surfaces) and grounding the negative probe to the battery post, you can measure the galvanic voltage. A reading above 0.3 volts indicates that your coolant has lost its sacrificial inhibitors and has become an active electrolyte, demanding an immediate flush to protect your internal engine components. For those who want to broaden their driveway diagnostic skills beyond cooling chemistry, explore our guide on the 10-multimeter trick for spotting a dying alternator before it strands you to master another essential electrical diagnostic technique.
What has been your biggest challenge when purging air from a modern, pressurized cooling loop? Drop a comment below with your vehicle model, or share your favorite trick for tackling difficult heater core bleeder valves with our growing community of DIY mechanics.
Vacuum-Fill Systems and the Demise of Traditional Gravity Burping
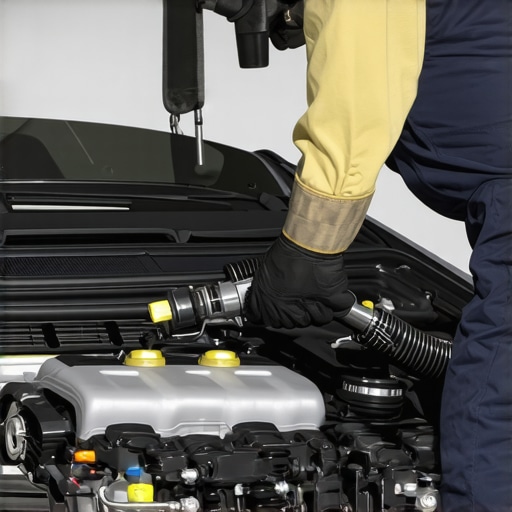
While spill-proof gravity funnels work exceptionally well on older, simpler cooling configurations, modern sports cars and luxury SUVs featuring multiple heat exchangers, auxiliary radiators, and complex turbocharger cooling loops require a more sophisticated approach. Relying solely on thermal cycling and bleed screws to purge air can take hours and still leave micro-pockets of air trapped in critical zones. The professional alternative is a pneumatic vacuum-fill tool, which hooks up directly to a shop air compressor to draw a deep vacuum on the entire cooling circuit. This process collapses the radiator hoses flat, proving that atmospheric pressure has been evacuated completely from the system.
Once a stable vacuum is achieved, a control valve is opened, drawing fresh, pre-mixed coolant into the engine block. Because the system is under a deep vacuum, the fluid immediately rushes into every microscopic crevice, heater core bend, and turbocharger water jacket without leaving a single bubble of air behind. This method is now the mandatory OEM procedure for brands like Porsche, BMW, and Audi, where even a tiny pocket of air can trigger immediate engine limp-mode protocols. For DIYers planning to maintain modern, high-performance engines, investing in a venturi-style vacuum-fill kit is no longer a luxury—it is an absolute technical necessity.
How Do You Safely Flush a System That Uses an Electric Water Pump?
Electric water pumps pose a unique challenge during a flush because they do not spin automatically when the engine is idling; instead, they are controlled by the Engine Control Unit (ECU) based on real-time temperature feedback. Simply letting the car idle on the driveway will not circulate the flush solvent or distilled water through the system effectively. To activate these pumps without starting the engine, you must initiate a specific dealer-level bleeding sequence. On most BMW models, for example, this involves connecting a battery charger, turning the ignition on, setting the cabin heater to maximum temperature on the lowest fan speed, and holding the accelerator pedal down for ten seconds. This triggers an automated 12-minute bleeding cycle where the electric pump runs through a pre-programmed sequence of low, medium, and high-velocity pulses to purge all trapped air.
The Thermal Dynamics of Distilled Water vs. Concentrated Ethylene Glycol
A common mistake made by enthusiasts in warm climates is running pure, undiluted antifreeze in their radiators under the false assumption that more concentrate equals better cooling. In reality, pure ethylene glycol has a specific heat capacity that is roughly 50% lower than that of pure distilled water. This means that pure coolant is significantly less efficient at absorbing heat from the cylinder walls and transferring it to the air passing through the radiator core. Water is the ultimate heat transfer medium; the glycol’s primary roles are to lower the freezing point, raise the boiling point under pressure, and introduce vital lubricating and anti-corrosive inhibitors to protect the water pump and metal components.
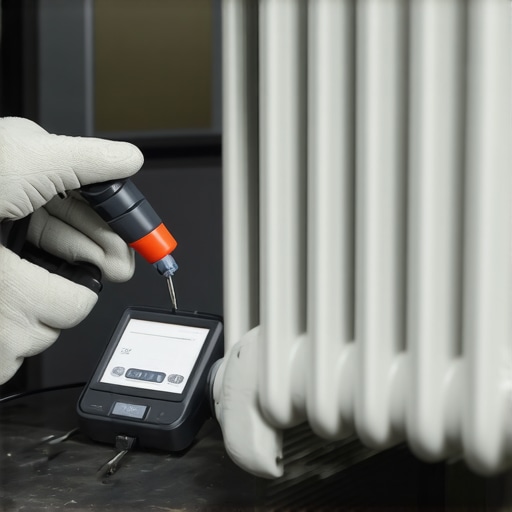
Deviating from the recommended 50/50 mixture can have severe thermodynamic consequences. In extreme cold climates, a 60/40 coolant-to-water ratio may be acceptable to prevent freezing, but exceeding a 70% glycol concentration actually raises the freezing point of the mixture and drastically reduces the cooling efficiency, leading to rapid overheating under load. Conversely, running too much water without adequate corrosion inhibitors will trigger rapid galvanic oxidation. To maintain this delicate chemical balance, professional technicians never rely on visual estimation; instead, they use a optical refractometer to measure the exact refractive index of the glycol droplets, ensuring precise freeze and boil protection levels.
Why Color Change in Your Coolant Reservoir Is a Warning Sign
For decades, automotive coolant was easily classified by simple colors: bright green for traditional inorganic acid technology (IAT) or orange for organic acid technology (OAT). In modern multi-metal engines, relying solely on visual color to determine coolant health is a dangerous diagnostic mistake. Chemical degradation often occurs without a dramatic change in hue, as the vital corrosion inhibitors deplete long before the base glycol base breaks down. When the pH level of your cooling system drops below 7.0, the fluid transitions from an alkaline protectant to an aggressive acid, eating away at internal solder joints and aluminum cylinder head castings. Utilizing professional-grade pH test strips offers a precise window into this chemical shift, providing a quantifiable measurement of reserve alkalinity before physical erosion begins.
The Critical Role of Cavitation in Water Pump Failure
One of the most destructive yet misunderstood phenomena within a high-mileage engine is water pump impeller cavitation. This mechanical destruction occurs when vapor bubbles form in low-pressure zones of the water pump and then violently collapse as they enter high-pressure areas. The localized shockwaves from these micro-explosions exceed the yield strength of the metal, literally blasting tiny pits into the metal impeller blades. Proper coolant selection, specifically fluids formulated with advanced cavitation inhibitors like silicates or nitrites, prevents this localized boiling. Maintaining the correct system pressure through a verified radiator cap is also essential, as a weak cap lowers the boiling point and encourages these destructive vapor pockets to form.
How Do You Safely Flush a System That Uses an Electric Water Pump?
Electric water pumps pose a unique challenge during a flush because they do not spin automatically when the engine is idling; instead, they are controlled by the Engine Control Unit (ECU) based on real-time temperature feedback. Simply letting the car idle on the driveway will not circulate the flush solvent or distilled water through the system effectively. To activate these pumps without starting the engine, you must initiate a specific dealer-level bleeding sequence. On most BMW models, for example, this involves connecting a battery charger, turning the ignition on, setting the cabin heater to maximum temperature on the lowest fan speed, and holding the accelerator pedal down for ten seconds. This triggers an automated 12-minute bleeding cycle where the electric pump runs through a pre-programmed sequence of low, medium, and high-velocity pulses to purge all trapped air.
To explore the complex dynamics of automotive chemical engineering and fluid standards, check out the comprehensive technical specifications detailed by the ASTM International (American Society for Testing and Materials), which outlines the rigorous performance benchmarks required for modern engine coolants. Share your experiences with complex cooling loops or ask our community of master technicians for advice on your vehicle’s specific bleeding procedures in the comments below.
Expert Insights & Advanced Considerations
The Danger of Electrolytic Erosion in Multi-Metal Blocks
Many technicians overlook the silent degradation of coolant chemistry until physical components fail. When the pH of your cooling fluid drops below the alkaline safety threshold, the fluid transforms into a weak battery acid. This initiates galvanic corrosion, which selectively eats away at the softest metals in your cooling jacket—most notably the aluminum cylinder head. Testing your system regularly with a digital multimeter is the only way to detect this electrical activity before physical pitting occurs.
Why Traditional Gravity Burping Fails Modern Vehicles
Using a spill-proof funnel remains popular in DIY garages, but modern performance cars with complex coolant routing require vacuum-assist tools. These systems feature localized high points, such as high-mounted heater cores or turbocharger water jackets, that trap air permanently under normal gravity filling. Pulling a deep vacuum on the cooling loop collapses the hoses flat, proving the system is sealed, and draws the fluid in dynamically to fill every microscopic pocket without a single trapped bubble.
The Myth of Pure Antifreeze Efficiency
Using undiluted ethylene glycol to maximize protection is a critical mistake in thermal dynamics. Pure coolant has roughly half the heat-absorption capacity of distilled water. Without water to act as the primary heat transfer medium, your engine block will run significantly hotter under load, despite having a higher boiling point on paper. Maintaining an exact 50/50 ratio ensures proper heat dissipation while safeguarding internal seals.
Curated Expert Resources
ASTM International Engine Coolant Standards
Reviewing the technical standards established by ASTM International provides unparalleled insight into the testing, performance, and chemical stability required of modern engine coolants. This is the definitive technical source for understanding how additives prevent foaming, cavitation, and scale buildup.
The Society of Automotive Engineers (SAE) Technical Papers
For those looking to dive deep into heat-exchange mathematics and cooling system engineering, the SAE library offers peer-reviewed research papers covering cooling system pressures, water pump impeller fluid dynamics, and advanced thermal management design.
Corrosionpedia Technical Library
An exceptional resource for studying the precise chemical mechanisms behind galvanic corrosion, cavitation pitting, and the metallurgical reactions that take place inside modern multi-metal combustion engines.
Final Expert Perspective
Executing a flawless radiator flush goes far beyond simply draining and refilling a radiator. True cooling system mastery requires managing fluid velocity to prevent splashing, utilizing the correct chemical chelating agents, and understanding how to purge the complex air pockets that threaten modern aluminum cylinder heads. A single trapped pocket of air can destroy an engine before your temperature gauge even registers a problem. If you want to expand your diagnostic capabilities and keep your vehicle operating at peak efficiency, review the ultimate tune-up checklist for every car owner to master the art of driveway maintenance. What challenges have you run into when trying to purge air from your cooling system? Share your experiences, vehicle models, or tips for bleeding stubborn loops in the comment section below.