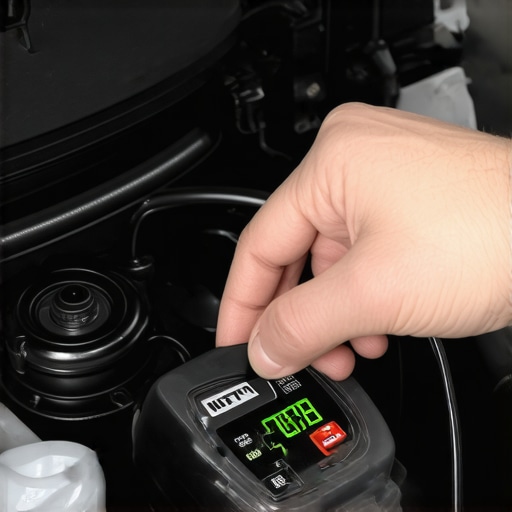
Brake fluid serves as the critical hydraulic link between your foot and the calipers, yet its chemical composition makes it uniquely vulnerable to atmospheric conditions. As a glycol-based substance, it is inherently hygroscopic, meaning it actively absorbs moisture through microscopic pores in rubber hoses and seals. This process is not merely a cosmetic concern; it fundamentally alters the fluid’s boiling point. When water content reaches a critical threshold, the heat generated during a standard brake service or heavy descent can cause the fluid to boil, creating vapor pockets that lead to a terrifying loss of pedal pressure, known as vapor lock. Maintaining hydraulic integrity requires more than just a tune up of the engine; it demands a rigorous analytical approach to fluid health.
Stop Guessing with the Boiling Point of Your DOT Fluid
Experienced owners often rely on visual cues, but color is a notoriously unreliable indicator of chemical degradation. While fresh brake fluid turning black can signal seal wear, it does not quantitatively measure water saturation. To achieve professional-level accuracy at home, you must move beyond the reservoir cap and utilize specialized diagnostic equipment. High-quality brake maintenance hacks involve using either chemical test strips or electronic conductivity testers. These tools measure the presence of water by evaluating the fluid’s electrical resistance, which changes as H2O molecules accumulate within the glycol matrix.
Electronic Probes Offer the Most Reliable Data
For the home mechanic seeking precision, a digital conductivity tester is the gold standard. These handheld devices are calibrated for specific fluid types, such as DOT 3, DOT 4, or DOT 5.1. By inserting the probes into the master cylinder, the device provides an instantaneous percentage of water content. If your readings show 2% or higher, the fluid is nearing its safety limit. This proactive measurement is a cornerstone of advanced auto repair, ensuring you address issues before they manifest as a spongy pedal. Identifying these trends early can help you stop your brakes from sponging after spirited driving or long mountain descents.
The Direct Impact of Moisture on ABS and Internal Components
Water does more than just lower the boiling point; it introduces oxygen into a sealed system, which catalyzes internal corrosion. Modern Anti-lock Braking Systems (ABS) utilize intricate valves and modulators with incredibly tight tolerances. Even minor oxidation can cause these components to seize, leading to thousands of dollars in avoidable auto repair costs. According to technical standards established by SAE International, the difference between the dry boiling point and the wet boiling point of DOT 4 fluid can be as much as 100 degrees Celsius, representing a massive reduction in the safety margin.
Why does 3% water content mean an immediate brake service?
Reaching the 3% moisture threshold is considered the ‘fail’ point by industry experts because it typically represents a drop in boiling point that brings the fluid dangerously close to temperatures seen during routine hard braking. Beyond the risk of vapor lock, this level of moisture indicates that the corrosion inhibitors within the fluid have been depleted. If your testing reveals moisture levels above 2%, it is imperative to consult a skilled mechanic you can trust to perform a full system flush and prevent master cylinder corrosion. Ignoring this data point is the primary reason for premature hydraulic failure in high-mileage vehicles.
While fluid chemistry is paramount, the mechanical interface between the master cylinder and the brake lines often holds the key to consistent pedal feel. If you have ever replaced a component only to find the pedal remains mushy, you are likely battling trapped micro-bubbles within the cylinder’s internal bores. Utilizing the 11 dollar master cylinder bench bleeding hack allows you to purge these air pockets on the workbench before the unit ever touches the car. This level of precision is what separates a DIY attempt from a professional-grade brake service. Without this step, you risk a permanent sponge-like response that no amount of traditional line bleeding can fully resolve. This is often compounded by the hidden brake line error where aged rubber hoses expand under pressure, mimicking the symptoms of air in the system.
Stop Rotor Runout Before It Starts
Vibration during deceleration is frequently misdiagnosed as warped rotors, but the reality is often more nuanced and related to lateral runout. When a mechanic installs new rotors without meticulously cleaning the hub surface, even a few thousandths of an inch of debris can cause the rotor to sit unevenly. Over time, this misalignment leads to uneven pad material deposition. This is exactly why your new brake rotors still pulse even after a seemingly perfect installation. Professionals prevent this by performing a high-speed hub cleaning to ensure a perfectly flat mating surface. 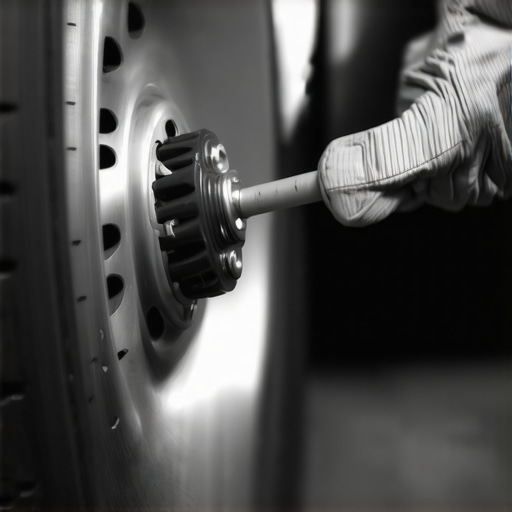
Why do brand-new rotors pulse even after a perfect pad bed-in?
The culprit is almost always Disc Thickness Variation (DTV), which develops because the rotor is not spinning perfectly true to the hub. When the rotor wobbles—even slightly—it makes contact with the brake pads at specific points during every revolution. This creates localized hot spots that change the molecular structure of the cast iron. To avoid this, savvy owners utilize the 10-minute hub scrub technique. If you have noticed a slight steering wheel shimmy during light braking, it is worth auditing the hub-to-rotor contact point before assuming the parts are defective. Have you encountered this pulsation shortly after a shop visit? Share your experience in the comments or suggest a topic for our next deep dive into auto repair diagnostics.
Eliminate Caliper Drag and Premature Pad Wear
A high-functioning tune up for your braking system must include a thorough inspection of the caliper slide pins. These pins are responsible for allowing the caliper to center itself over the rotor; when they seize due to heat or dried lubricant, one pad will wear significantly faster than the other. This imbalance generates excessive heat, which further degrades the brake fluid you just tested. According to the National Highway Traffic Safety Administration (NHTSA), mechanical drag is a leading contributor to localized brake overheating and subsequent system failure. Implementing the simple move that fixes a sticky brake caliper involves using high-temp silicone-based grease rather than petroleum-based products, which can swell the rubber boots. Additionally, using a 6 dollar can of brake cleaner to remove shipping oils from new rotors ensures the friction material bites immediately without glazing, preserving the integrity of your recent brake service.
Balance Your Bite with the Proportioning Valve
Beyond the calipers and rotors, the proportioning valve remains the unsung orchestrator of vehicle stability. This component is tasked with a difficult job: modulating hydraulic pressure to the rear wheels to prevent them from locking up before the front tires under heavy deceleration. In a high-performance brake service, ignoring this valve is a recipe for disaster. If the internal spring or plunger becomes contaminated by the same moisture-laden fluid discussed earlier, the valve can stick. This leads to an imbalance where the rear of the car attempts to ‘swap ends’ during emergency maneuvers. Modern vehicles have largely transitioned to Electronic Brakeforce Distribution (EBD), which integrates this function into the ABS module, yet millions of vehicles on the road still rely on these mechanical marvels to maintain a safe contact patch.
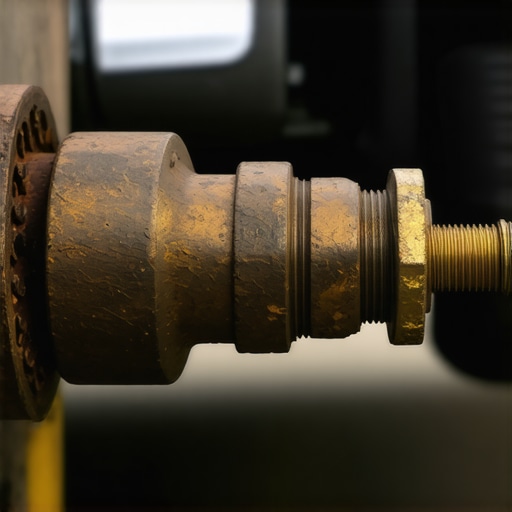
Can a faulty proportioning valve cause rear-wheel lockup?
Yes, a malfunction in the proportioning valve—often caused by internal sediment or a collapsed return spring—can allow full master cylinder pressure to reach the rear drums or discs prematurely. Under hard braking, the weight of the vehicle shifts forward, unloading the rear tires. If the valve fails to restrict pressure, those unloaded tires will skid, significantly increasing stopping distance and stripping the driver of directional control. Diagnostic experts during an auto repair session will often look for ‘nose-diving’ or premature rear lockup as primary indicators that the valve’s calibration has been compromised by old, acidic fluid.
Combat Corrosion in Hidden Hard Lines
The skeletal structure of your braking system—the hard steel lines—faces a dual-front war against external road salt and internal moisture. While many DIYers focus on the rubber hoses, the steel lines are prone to ‘pitting’ corrosion that is often invisible until a catastrophic failure occurs. According to technical bulletins from the Brake Manufacturers Council (BMC), internal corrosion can weaken the line walls to the point where they burst under the 1,500+ PSI generated during a panic stop. When performing a comprehensive tune up, inspect the areas where lines are clipped to the chassis; these plastic clips act as moisture traps, accelerating the oxidation of the steel. Next time you have the wheels off, take a bright LED flashlight to those hard-line junctions and look for ‘damp’ dust—it’s the first sign of a pinhole leak that could end your journey prematurely.
Why NiCopp Lines Beat Traditional Steel for Longevity
Transitioning to NiCopp (Nickel-Copper) lines is a common upgrade for the dedicated mechanic, as this alloy offers superior corrosion resistance and is far easier to flare than traditional double-walled steel. While standard steel lines are inexpensive, they rely on a thin zinc coating that eventually yields to the elements. Once the zinc is breached, the underlying iron oxidizes rapidly. In contrast, NiCopp forms a protective oxide layer that halts further degradation, making it the preferred choice for long-term reliability in harsh climates. This choice of materials directly impacts the longevity of your hydraulic system and ensures that your next brake service doesn’t involve replacing the entire line network from front to back. As we look closer at the interface between the hydraulic system and the friction material, the thermal capacity of the pads themselves becomes the next critical variable in the equation…
The transition from hydraulic pressure to kinetic energy dissipation relies entirely on the coefficient of friction at the rotor-pad interface. While fluid health is the foundation, the actual ‘bite’ depends on the complex metallurgy of the friction material. Choosing between ceramic, semi-metallic, and organic compounds is not a matter of ‘best,’ but of thermal application. Ceramic pads excel at noise reduction and dust control but can struggle with initial cold-bite. Conversely, semi-metallic pads utilize steel fibers to wick heat away from the caliper, making them the preferred choice for heavy towing or track use. A high-level tune up should always involve matching the pad compound to the vehicle’s duty cycle to avoid glazing—a phenomenon where the resins in the pad melt and crystallize on the surface, creating a mirror-like finish that drastically reduces friction.
Stop the Fade with Advanced Thermal Management
When you push your vehicle during a spirited drive, you encounter ‘brake fade,’ a terrifying reduction in stopping power caused by outgassing. As the pads exceed their designed temperature range, the bonding agents begin to vaporize, creating a microscopic cushion of gas between the pad and the rotor. Professional auto repair specialists mitigate this by selecting slotted or cross-drilled rotors, which provide an escape path for these gases. However, the most critical factor remains the ‘bed-in’ process. By performing a series of controlled stops, you establish a uniform transfer layer of pad material onto the rotor face. This allows the brakes to operate using adherent friction (pad material rubbing against pad material) rather than abrasive friction, which preserves rotor life and ensures a consistent brake service outcome. 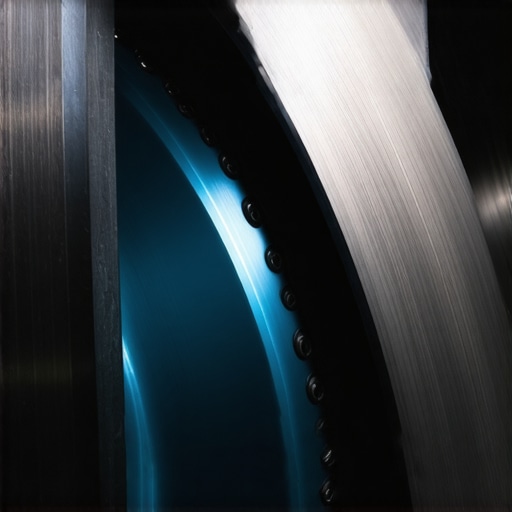
How does the transfer layer thickness dictate stopping power?
The transfer layer is a microscopic film of friction material that bonds to the rotor’s asperities. If this layer is uneven—often caused by stopping completely with hot pads—it creates ‘cementite’ patches, which are harder than the surrounding cast iron and lead to the pulsations often mistaken for warped rotors. Maintaining this layer requires a precise thermal cycle; if the layer is too thin, you experience high abrasive wear, but if it is too thick or uneven, the friction coefficient becomes unstable. Expert mechanics use a runout gauge to ensure the rotor is within 0.002 inches of true, ensuring the transfer layer remains perfectly consistent across the entire swept area.
Why Your Brake Booster Might Be Lying to You
If your pedal feels ‘wooden’—requiring immense leg force to achieve minimal stopping power—the culprit is likely a compromised vacuum booster. This component uses engine vacuum to multiply the force you apply to the master cylinder. According to the Federal Motor Vehicle Safety Standard (FMVSS) No. 135, braking systems must meet strict performance criteria even in ‘failed-power’ scenarios. To test your booster’s integrity, pump the pedal several times with the engine off to deplete the vacuum, then hold the pedal down while starting the engine. If the pedal doesn’t drop slightly, your booster diaphragm is leaking or the check valve has failed. This mechanical failure can mask high-quality auto repair work, leading a driver to believe the hydraulic system is at fault when the assist mechanism is the true bottleneck.
Precision in brake service extends to the very air we breathe out of the lines. While many rely on the ‘two-person pump’ method, professional-grade results often require a pressure bleeder. These units attach to the master cylinder reservoir and use a regulated air supply to push fluid through the system, preventing the master cylinder seals from traveling into unused, potentially corroded areas of the bore. Have you experimented with different pad compounds for your specific driving style, or are you struggling with a persistent pedal issue? Let us know your diagnostic hurdles in the comments below, and we may feature your query in our next technical analysis.
Expert Insights & Advanced Considerations
Fluid Chemistry Matters More Than the Odometer
While most drivers associate maintenance with mileage, brake fluid is governed strictly by the calendar. Because glycol is hygroscopic, a car sitting in a humid garage can reach the 3% moisture failure threshold faster than a high-mileage highway cruiser. A proactive mechanic understands that environmental exposure is the silent killer of internal seals, regardless of how many miles are on the clock.
The Hidden Danger of Mixing DOT Ratings
It is a common misconception that higher DOT numbers are always better for every vehicle. While DOT 5.1 offers a higher boiling point, it has a lower viscosity than DOT 3, which can lead to internal seepage in older systems not designed for such thin fluids. Always consult mechanic tips for diagnosing common auto problems before altering the factory fluid specification during a routine tune up.
Copper-Free Pads and Your Stopping Distance
Modern environmental regulations have forced a shift toward copper-free friction materials. These pads often have different thermal transfer characteristics, which means your traditional bed-in procedure might need adjustment to prevent glazing. To get the most out of these new compounds, check out these tips to maximize your brake service efficiency. #IMAGE_PLACEHOLDER_E#
Curated Expert Resources
SAE International Technical Papers: The industry-standard source for data on fluid boiling points and the molecular degradation of glycol-based lubricants under extreme thermal load.
Bendix Brake Education Center: Provides deep-dive technical modules on friction metallurgy and the mechanics of lateral runout for the serious DIY enthusiast.
NHTSA Safety Research: A vital database for tracking systemic failures in ABS modules and master cylinders across specific vehicle platforms to identify recall-level defects.
Final Expert Perspective
Mastering your vehicle’s stopping power requires a shift from reactive repairs to predictive maintenance. By integrating digital moisture testing and meticulous hub cleaning into your standard brake service, you eliminate the variables that lead to mystery vibrations and spongy pedals. True auto repair excellence is found in the thousandths of an inch and the chemical purity of your hydraulic lines. If you are looking for more ways to optimize your vehicle’s reliability, explore our ultimate tune up checklist. Do you have a specific hydraulic challenge that won’t go away? Share your diagnostic hurdles in the comments and let’s troubleshoot the data together.