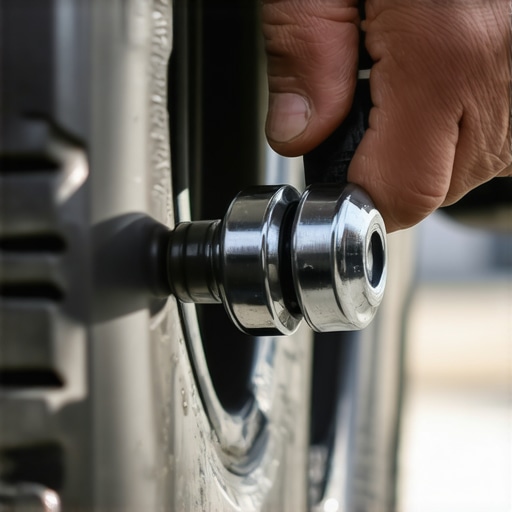
Precision in wheel installation is often the dividing line between a novice DIY enthusiast and a seasoned technician. While pneumatic impact wrenches dominate the high-speed environment of professional shops, the final seat of a lug nut is a matter of metallurgical science rather than raw power. Achieving the correct clamping force is critical; it relies on the elastic elongation of the wheel stud, which acts like a heavy-duty spring to keep the wheel secured under the immense thermal and mechanical stresses of driving. Without a professional gun, the burden of accuracy falls on the mechanic’s technique and specialized hand tools to ensure a safe and reliable brake service.
Stop Guessing and Start Measuring Clamping Force
The most dangerous myth in auto repair is the idea that ‘tight enough’ can be felt by hand without a calibrated instrument. When you over-tighten lug nuts using a standard breaker bar, you risk stretching the studs beyond their yield point, leading to eventual snapping under load. Conversely, uneven torque is a primary contributor to why your new brake rotors warped in less than six months. This occurs because uneven clamping pressure creates high spots on the rotor hat, which translates into lateral runout and pedal pulsation over time. To maximize your brake service efficiency, you must view the wheel, rotor, and hub as a single synchronized unit held together by uniform tension.
Why Your Hub Surface Cleanliness Dictates Torque Accuracy
Before even reaching for a wrench, an expert mechanic knows that the mounting surface must be pristine. Rust or debris trapped between the wheel and the hub acts as a compressed shim; as it disintegrates or shifts during driving, the initial torque setting effectively disappears, leading to loose wheels. Always use a wire brush to clean the mating surfaces and the stud threads. This ensures that the torque value you apply is actually going into clamping force rather than overcoming thread friction. If you are struggling with vibrations even after tightening, learn how to stop your brakes from pulsing without new parts by focusing on these interface details.
The Essential Manual Toolkit for the Precision Mechanic
To achieve professional results without an air compressor, a high-quality click-type or beam-style torque wrench is non-negotiable. These tools allow you to hit the manufacturer’s specific foot-pound requirements with surgical precision. According to technical documentation from Tire Rack, using a star pattern is mandatory to distribute the load across the hub face evenly. Start by snugging the nuts in a crisscross sequence while the wheel is in the air, then lower the vehicle until the tire just touches the ground to prevent spinning, and perform the final torque. This staged approach is exactly how a top-rated mechanic ensures safe auto repairs every time they touch a vehicle’s drivetrain.
Is Your Torque Wrench Actually Calibrated for Accuracy?
Many DIYers own the right tools but fail to maintain them. A torque wrench is a precision instrument that can lose its calibration if dropped or stored under tension. Professional-grade results require storing the wrench at its lowest setting to relieve the internal spring pressure. If you are serious about your vehicle’s tune up and long-term safety, consider having your primary wrench tested annually. Are you ready to elevate your maintenance game? Join our community of experts and contribute your own field-tested insights to our growing knowledge base.
A common pitfall in high-level maintenance is the application of grease or anti-seize to wheel studs. Most factory torque specifications are calculated for ‘dry’ threads. Lubricating these surfaces drastically reduces the friction required to turn the nut, which means you might inadvertently apply up to 30% more actual clamping force than intended, even if your wrench clicks at the prescribed limit. This is a classic example of auto repair myths debunked where a well-intentioned action leads to mechanical fatigue. Over-stressed studs eventually lose their elasticity, failing to act as the heavy-duty springs required to maintain tension through thousands of heat cycles.
Stop Oiling Studs to Avoid Silent Over-Torque
When you ignore the dry-torque rule, you risk ‘necking’ the wheel stud—a process where the metal physically thins out and becomes brittle. This hidden damage is often the culprit behind why a wheel might feel perfectly secure in the driveway but vibrates under the thermal load of heavy braking. Maintaining thread integrity is just as vital as any other essential tune-up tip for vehicle longevity. If you suspect your studs have been lubricated in the past, it is best to clean them thoroughly with a dedicated solvent before your next service to restore the intended coefficient of friction.
Can a Micro-Stretched Stud Compromise Your Wheel Security?
From an engineering perspective, every time a bolt is tightened, it undergoes elastic deformation. However, if a technician or DIYer exceeds the ‘elastic limit,’ the metal enters plastic deformation—meaning it will never return to its original shape. According to research from SAE International, inconsistent clamping force is the leading cause of wheel-off incidents and rotor distortion. A stud that has been permanently stretched cannot provide the necessary pull to keep the assembly tight. If you notice any resistance while threading a lug nut by hand, it may be a sign of thread pitch elongation, indicating the stud is compromised and requires immediate replacement.
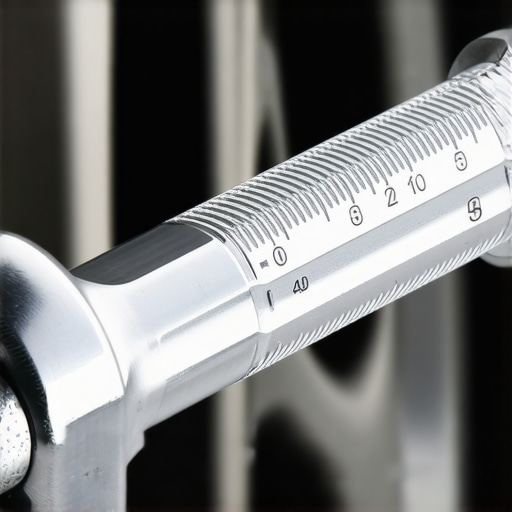
Why Hub-Centric Alignment Prevents Highway Shakes
Even with perfect torque, a wheel that is not perfectly centered on the hub will cause rhythmic disturbances. Most modern vehicles use a hub-centric design, where the center hole of the wheel fits snugly over a machined lip on the hub. If there is even a millimeter of rust buildup on that lip, the wheel may sit slightly cocked, leading to why your car shakes at exactly 55 mph even if the tires are balanced. Performing a thorough hub clean-up is the only way to ensure the wheel is perfectly concentric to the axle’s axis of rotation. This meticulous attention to detail distinguishes a true expert from a hobbyist.
Ignoring these interface details often results in phantom issues that no amount of parts-swapping can fix. Have you ever felt a vibration return just weeks after a professional service? Share your diagnostic journey in the comments below or read our guide on how to diagnose a mystery clunk in your front end to see if your wheel mounting technique might be the hidden culprit.
Don’t Ignore the Physical Shift Caused by Thermal Expansion
Metal behaves dynamically under the extreme temperatures generated during a brake service. When you drive, the heat from friction transfers from the rotors to the hub and finally to the wheel and studs. Because aluminum wheels expand at a different rate than steel studs, the initial clamping force can shift as the components undergo these thermal cycles. This is not a failure of the initial installation but a reality of metallurgy. The Tire Industry Association (TIA) emphasizes the RIST procedure—Remove debris, Inspect components, Snug in sequence, Torque to spec—and strongly recommends a retorque after 25 to 50 miles of driving to account for this settling process.
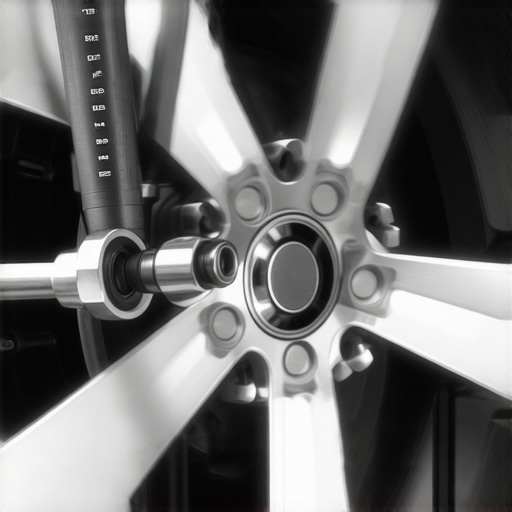
Do Aluminum and Steel Wheels Require the Same Clamping Force?
The material composition of your rims dictates how the lug nut seat interacts with the fastener. Aluminum is significantly softer than steel, meaning the crush or seating behavior differs. In high-performance auto repair, mechanics must be wary of galling, a form of wear caused by adhesion between sliding surfaces. If a steel lug nut is forced against an aluminum seat without the proper torque curve, it can physically move the metal of the wheel, creating a permanent deformity. This variation in material density is why luxury and performance manufacturers often specify vastly different torque values for their alloy options compared to their base steel wheels.
Treat Torque Sticks as Proxies Rather Than Precision Instruments
In many high-volume shops, you will see a mechanic use color-coded torque sticks on an impact gun. While these are designed to flex at a specific limit, they are notoriously inconsistent. Factors such as the internal wear of the impact hammer, the air pressure at the tool, and even the technician’s grip can result in a 20% variance in actual torque. For a critical tune up or brake overhaul, relying solely on these sticks is a gamble. A true professional uses the impact gun only to snug the fasteners and performs the final click with a manual, calibrated wrench. If you find your steering wheel oscillating after a shop visit, it might be time to learn how to talk to your mechanic about torque specs to ensure they aren’t taking shortcuts with your safety.
Can Mismatched Lug Nut Seats Cause Catastrophic Failure?
Visual similarity often masks dangerous mechanical differences. Lug nuts come in three primary seat types: conical, ball, and flat. Using a conical nut on a ball-seat wheel creates a tiny point-of-contact rather than a full-surface interface. This concentrated pressure can crack the wheel’s lug hole or cause the nut to back off under vibration. Expert-level brake service requires a physical inspection of both the nut and the wheel’s bore to ensure a 100% surface match. Have you checked if your aftermarket winter wheels use the same seat type as your OEM alloys? Ignoring this micro-detail is a leading cause of mystery wheel loosening that standard torque checks won’t fix.
Advanced diagnostic work often reveals that what we perceive as a bad part is actually a failure of installation physics. As the hub heats up during a spirited drive, the clamping load on those studs is the only thing preventing high-speed disaster. This is especially true when dealing with the added leverage of wheel spacers or aggressive offsets, where the load path to the hub is significantly altered. Share your experiences with aftermarket wheel setups in the comments, or explore our deep dive into the dangers of incorrect wheel offset to see how it impacts bearing life…
Moving beyond the basic mechanics of torque application reveals a world of material science that many auto repair enthusiasts overlook. When a mechanic stretches a wheel stud beyond its intended elastic range, the damage isn’t just physical—it can be chemical. High-strength steel fasteners are susceptible to a phenomenon known as hydrogen embrittlement, particularly when they have been over-stressed in environments exposed to road salts and moisture. This microscopic degradation turns a once-flexible spring-like stud into a brittle piece of glass. In the context of a high-performance brake service, ignoring the metallurgical health of your studs can lead to a sudden failure during the high-load conditions of heavy cornering or emergency stops.
How Fastener Metallurgy Dictates Long-Term Hub Integrity
Every fastener has a fatigue life—a specific number of heat and load cycles it can endure before the metal structure begins to fail at a molecular level. Professional race teams often replace studs based on hours of use rather than waiting for a failure, a practice that savvy DIYers should consider if they frequently track their vehicles or haul heavy loads. According to technical studies published by ASM International, fastener fatigue is accelerated by inconsistent torque, which creates uneven stress risers at the base of the threads. By maintaining a strict tune up schedule for your hardware, you ensure that the clamping force remains within the design parameters of the alloy, preventing the slow creep of metal fatigue from compromising your vehicle’s safety.
Does Your Aftermarket Spacer Compromise Stud Shear Strength?
Adding wheel spacers to achieve a certain aesthetic or to clear larger calipers is a common modification, but it fundamentally alters the physics of the wheel assembly. If you use a ‘slip-on’ spacer without installing extended studs, you are reducing the number of thread engagements between the nut and the stud. For a secure mount, the rule of thumb is a minimum thread engagement length equal to the diameter of the stud. Reducing this engagement even by a few millimeters shifts the load from the shank to the very tips of the threads, significantly increasing the risk of stripping or shearing under lateral load. If you are planning an upgrade, treat it as a comprehensive brake service task and verify that your hardware is rated for the additional leverage that spacers provide.
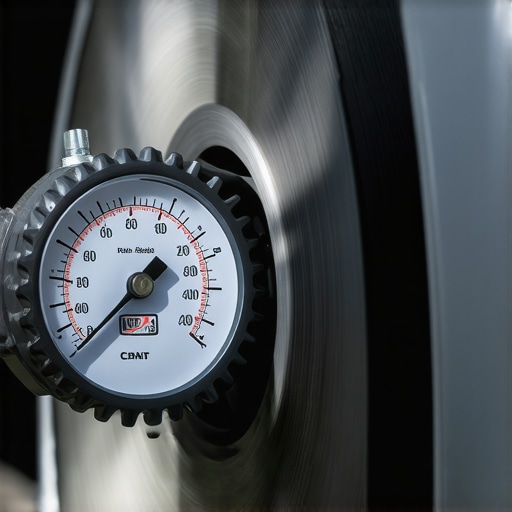
Aligning the Stack to Kill Persistent Vibrations
Even the most expensive, balanced wheels can vibrate if the ‘tolerance stack-up’ isn’t managed correctly. Every hub and every rotor has a minute amount of lateral run-out—a slight wobble measured in thousandths of an inch. A master mechanic uses a dial indicator to measure this run-out and will ‘clock’ the rotor on the hub, rotating it stud-by-stud until the high spot of the hub cancels out the low spot of the rotor. This precision indexing is the secret to a glass-smooth ride at highway speeds and is a hallmark of elite auto repair. It eliminates the need for excessive wheel weights and ensures that the brake pads make perfectly parallel contact with the rotor face, extending the life of your entire braking system.
The next time you perform a routine tune up, take a moment to inspect the shoulder of the wheel studs for signs of ‘shining’ or galling, which indicate that the wheel has been moving slightly under load. These micro-movements are the precursors to total failure and are often the result of using the wrong lug nut seat or failing to clean the hub interface properly. Are you dealing with a vibration that just won’t go away despite multiple balances? Join our technical forum and share your run-out measurements; our community of specialists can help you diagnose whether it’s a hardware mismatch or a cumulative tolerance issue. Taking these extra steps isn’t just about maintenance—it’s about mastering the physics of your machine to ensure every mile is as safe as it is smooth.
Expert Insights & Advanced Considerations
Stop Torquing Wheels While the Hubs are Hot
Metal expands significantly under the thermal load of a hard drive. If you perform a brake service and immediately torque the lug nuts while the rotors and hubs are still radiating heat, the clamping force will be inaccurate. As the metal cools and contracts, the initial torque value drops, potentially leading to loose fasteners. Always allow the hub assembly to reach ambient temperature to ensure the ‘spring’ effect of the wheel stud is calibrated correctly.
Why Plastic Deformation Means the End for Your Studs
A stud that has entered plastic deformation is a ticking time bomb. This occurs when a mechanic over-tightens a nut, stretching the metal beyond its ability to return to its original shape. You can often feel this as a ‘soft’ sensation during the final click of the wrench. If you encounter this, the stud must be replaced immediately. You can check for signs of failure using the 10-tool that diagnoses a bad wheel bearing at home to inspect the surrounding hub for secondary stress fractures.
Match the Seat Shape to Prevent Hub Damage
The interface between the lug nut and the wheel is where most failures begin. Mixing a ball-seat nut with a conical-seat wheel reduces the contact area to a tiny sliver of metal, which will eventually gall and fail. Professional auto repair requires a visual confirmation that the fastener profile perfectly mirrors the wheel’s machined pocket. If you notice why your brake rotors rust overnight, take that opportunity to inspect these mating surfaces for uneven wear patterns.
#IMAGE_PLACEHOLDER_E#
Curated Expert Resources
The Tire Industry Association RIST Manual
This is the gold standard for wheel installation, detailing the mandatory sequence of Removal, Inspection, Snugging, and Torquing that every technician should follow.
SAE International Fastener Standards
For those who want to dive into the metallurgy of clamping forces, SAE J429 provides the technical specifications for the bolt grades used in modern automotive hubs.
ASM International Failure Analysis Database
A deep-dive resource for understanding how hydrogen embrittlement and fatigue cycles lead to catastrophic fastener failure in high-stress environments.
Final Expert Perspective
Achieving the perfect wheel installation is less about muscle and more about respecting the laws of metallurgy and friction. By moving away from the ‘tight enough’ mentality and embracing calibrated precision, you protect the integrity of your rotors and ensure the long-term safety of your vehicle. Implementing these brake service secrets elevates your maintenance from basic DIY to professional-grade engineering. Do you have a specific torque ritual or a tool that never leaves your kit? Join the conversation in our technical forum and help us drive the standard of home maintenance higher.